We`ll start with the main floor. Its basically just a lowprofile box, very easy to make. We will do each part and texture it before we move on to the next, and then assemble the whole thing at the last moment (since buidlings can get very hard to edit once all walls, roof and windows are in place).
- In top view, hit f7 and enter 10 in both sizeX and sizeY field and hit ok. This is the basic floor shape, but its a bit thick.
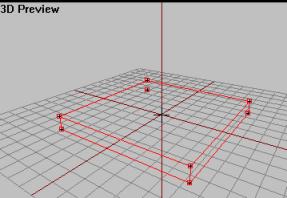
- In side view, hit F4 and select the top 4 vertices. Then hit shift+E. This will allow us to edit the vertrices coordinates in 3d space. Now this is the hard part of this kind of modelling. Since o2 dont have proper "snap-to-grid" functions like other 3d program, you must manually edit the coordinates to get the vertrices where you want them. We want the floor about 0.10 meter above ground level (to make sure floor dont get burried or flicker with the island ground texture), and say .4 into the ground (to compensate when the building rests in uneven terrain).
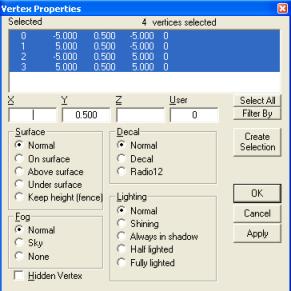
- So here is the think, hope you have basic math skills covering Coordinate systems. With all four vertices selected, the X and Z field on the window is blank, meaning that all or one of the selected vertices have different X and Y coordinates. But the Y field is showing meaning all four vertrices share this value, as you see in left view that all of them lie on the same plane (or level). A box is 1 m in height on default when we created it, so its 0.5 above and 0.5 below ground as all objects are created on the center of the p3d file. So lets change the Y-field to 0.1 and hit ok.
- Then still in left view select the lower 4 vertices, shift+E and set its Y vaue from -0.5 to -.4. (not much of a big deal, but at least ypu learn how it all works).
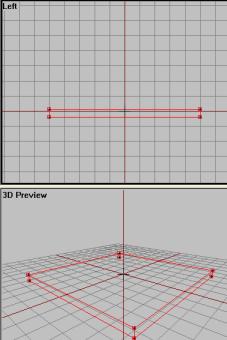
Here is the final floor structure, a 10mx10mx0.5m box.
Make sure you got that trick of changing the coorinates of vertices using the shift+E box, because its vital for the next steps. Play with it, try changing a box or a cylinders shape without using any scaling functions. Changing the shape of a structure using this method is a much more accurate one than relying on free scaling using the mouse and the Ctrl button. And if we are to make our house of parts, me must make sure that all parts are aligned so that the pieces fit when we assemble it.
Now select the whole floor structure and name a selection for it named "floor1". this dont have anything to do with the OFP engine, its just so that its easier to select our floor structure later during assembly.
Lets texture it so that the floor is truly done. We`ll use the file named "wood2.paa" for this. I assume you can load textures and know how it works (lesson 1), but ill help you a little on the way since you will be doing this mostly on your own later in the tutorial.
- In top view, load the wood texture and drag a 1mx1m box somewhere in teh left view. Yes, its its not like on the tut 1 crate, this is called "tiling a texture". We dont drag the texture over the whole floor like on the crate, because the texture will look awfull when stretched accross a 10x10 meter structure that the floor is. After making sure that the texture is of right scale, hit Apply. Check out the result in Bulldozer.
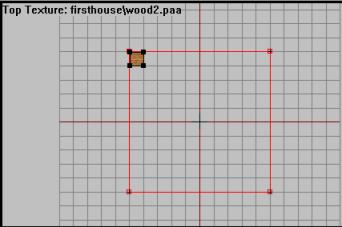
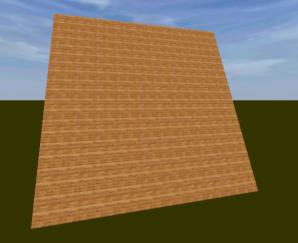
The tileable texture gets copied, side by side, all over the floor. Great if a texture is small and the surface to be textured is quite large. This way the textreu look better ingame.
The floor structure is nearly done. It still have some ugly sides since we only applied texture to the whole structure from the top view, leaving only top and bottom face nicely textures. All the otehr sides are looking you fix that easily, its like you did in lesson 1. Select all 4 sides, one at a time, and apply the same texture to it (dont worry it you dont get the textures lined up right since this it just a practice tutorial). You should be able to do this yourself.
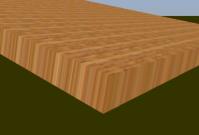
Bad.
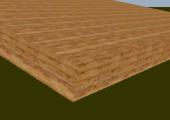
Good
If the floor is ready textured, leave it in "0.000" LOD. Then make a new LOD and enter it. We will have one LOD for each part, and at the very end merge them together. Leaving the floor in 0.00 LOD will give us a nice yellow ghost picture of the floor for reference when creating the walls, which are up next.
Back__Home__Next