Well, ok so we werent all done with the modelling stuff. I guess I lied a bit there. But this is very simple.
If you dont already know, the flash that occurs when firing most guns in OFP is no fancy special lightingeffect or anything. Nope, its just a simple model with transparent smoke-textures on it that occur the split-second the weapon is fired. Disappointed? Dont be, because its easy to make and looks good enough anyway.
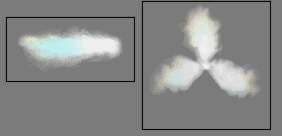
Have a look in your stalker-folder and check out the two textures flash_side.paa and flash_front.paa.
Lets get this over with quickly, then:
- Go back to the "0.000" LOD.
- Activate the top view and then find "create-plane" on the menu. Hit ok. Just after you hit OK on the dialog, hit F6. The blue lines (indicating face direction) should go away and the plane is now a double sided face. It is now viewable from both sides, check it out in Bulldozer and 3d view with Face culling on and then off. Cool, eh?
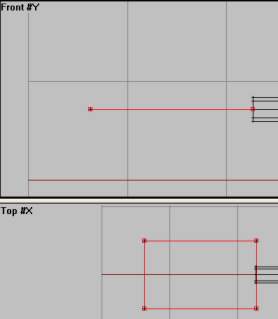
- Now move the plane along the x-axis in top view (using lock x-axis), make it a bit more like a rectangle. Then, in front view, lock the y-axis and move it upwards. It should look like this in front and top views:
- Now we apply the flash_side.paa to the plane. Since this is a double sided plane, teh texture will be viewable from both sides. Activate top view, zoom in on the plane and hit "A" key. RMB click and choose Load texture. Load flash_side.paa and drag teh texture around the plane. Make sure that BOTH sides on the plane are select, not just the one. Do that by making sure that both sides are grey in Bulldozer. If one is red like the rest of the gun, use F2 and select one of the plane vertrices. Then apply the texture using "B" key.
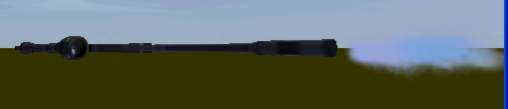
- Check it out in Bulldozer. It should look like this:
- Now that we have one horizontal muzzleflash plane, we could need a vertical one. This time we simply copy the one we made and rotate it.
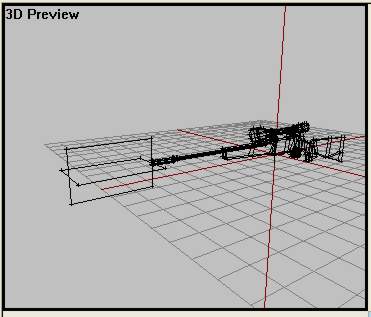
- Select the flash plane, Ctrl+C to copy and Ctrl+V to paste. Then on the menu find Transform3d->Rotate.. and rotate the new copy 90* on its X-axis (if you have the front-view active, that is). The result:
We need one other muzzle flash, a circle for the flash_front.paa so that the flash is visible when looking strait at the firing gun (aka getting shot at).
- Activate the side view and find create->circle on the menu. Make the "Segments Radius" from 10 to 6 and hit ok. Move and resize the circle so that it looks like this in 3d view:
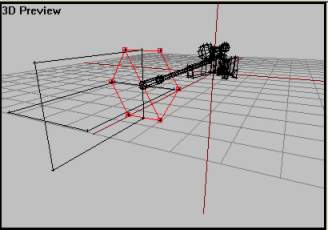
3d view with face culling OFF
- But we need doublesided faces, so with the cricle selected, press "D" do delete all faces on the circle so that only the vertrices are left, like this:
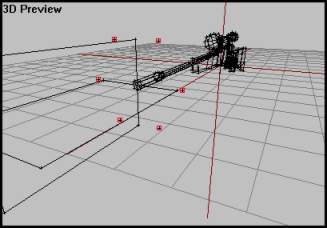
3d view with face culling OFF
- Now we must make two doublesided faces by using F6 twice (!) on each face. In Select the 4 upper vertrices and hit F6 twice.
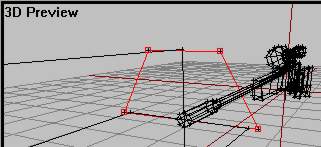
Then select the bottom 4 vertrices and hit F6 twice to make the lower face.
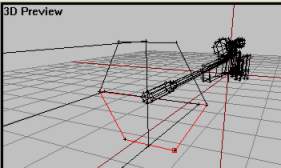
- If you`ve done everything right, you should see a roundish-looking shape at the barrel end with both sides visible in Bulldozer.
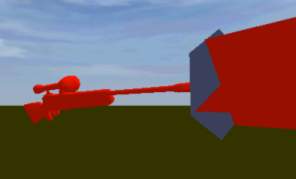
Now we need to texture it. Thats easy, aint it? You`ve done it many times before. Just select the circle using F2, hit "A", load the flash_front.paa, draw around circle in side view then apply it using B-key. Routine, isnt it?. Soon second-nature, I hope. Well, anyway, this is the final result:
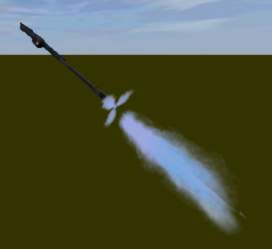
Ok, almost done with our model now..hang in there. We need two simple named selections in our primary LOD, "0.000". OFP needs to know what parts are the gun model and what parts are the muzzle flash. So select all the muzzle flash parts (3 structures, two planes and a circle), and name them "zasleh" ("flash") in the named selection window. Then you need to select all the other parts; muzzle, main gun body, two scope holders and scope, trigger, hmm..anything else?..no. Name that selection "zbran" (weapon).
And if everything is done correctly, you are now finnished with the model! Great job. Look trought the previous steps and make sure everything is right. And check that the texture paths are right (we learned how in lesson 1). Ok, done?. Configfile next, then.
Back__Home__Next