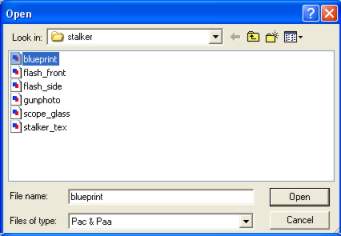
Load the texture we are going to use as reference.
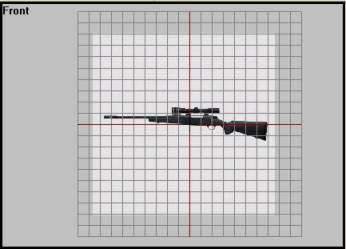
Now me must model the side shape of the gun. We do that by outlining the gun profile with vertrices. That means we use "insert" at various points around the model. Later we will create faces on these vertrices. Lets start with the back, shall we:
Zoom in on the rear gun part and start placing vertices using your cursor and the "insert" key. Start somewhere and work your way around the shape. Excatly where to place each vertex is not something you can learn just like that, it comes with modelling experience. Trial and error, that is. Here is how it could look like:
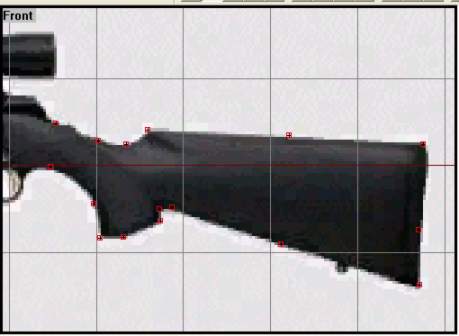
Note that there are few vertrices at the strait points and more vertrices where there are more round and soft shapes. Remember that we are dealing with polygons and therefore there are only straight lines between points. So we need to have many vertrices where the model is supposed to have a round shape.
Now lets have a look at the middle section (leave out the trigger area and the scope right now). Here is my suggestion:
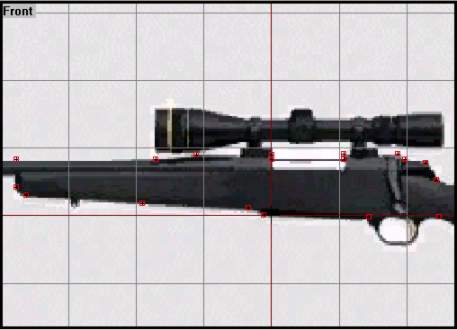
Doesnt look too back, does it? The main shape is there, at least, Note that we are not going any more left right now, the front section (muzzle etc) will be made of a small cylinder structure later. The same goes for the scope; later.
Now for the hard trigger area. This is the roundest shape on side view and therefore need many vertrices to look good. Remember that the area between vertrices will be filled with faces, so we need an inner and an outer vertrice ring, like this:
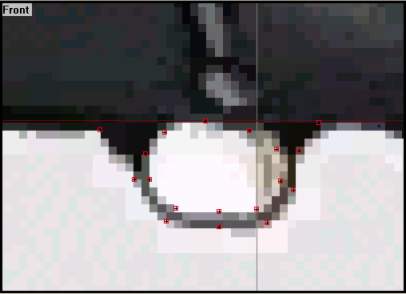
Ok, so it aint perfert. Its sometimes hard to imagine how the vertrices will look once we have made faces, but dont worry. its easy to move them later. And we havent made the actual trigger yet, we`ll do that later.
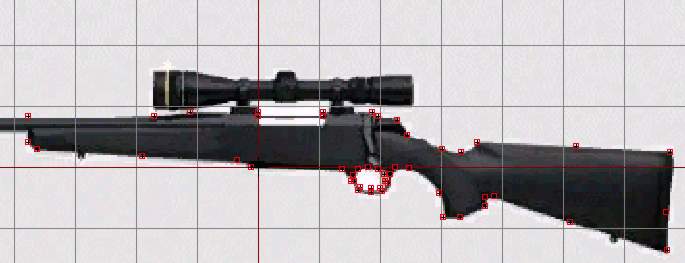
What it should look like so far.
When you`re happy with your vertrices (If you aint, move them, add some or delete some to get the right shape), move on to the next step. And dont worry of some are a bit outside the background texture, "blueprint.paa" is only for reference, we use another one for the actual texturing.
Back__Home__Next